su
If you don't have a directory /usr/share/fonts/TrueType, create it:
mkdir /usr/share/fonts/TrueType
Copy the font files to /usr/share/fonts/TrueType.
cd /usr/share/fonts/TrueType
The font files should have the extension .ttf. It is important that this extension be lower case. If any of your font files have other extensions, change them.
ttmkfdir -o fonts.scale
mkfontdir
Now edit your X configuration file so that X knows about the directory you have created. The configuration file may be located in a number of places. See the man page for XF86Config for all possible locations. On a Linux system the file should be located in /etc/X11. It may be named either /etc/X11/XF86Config or /etc/X11/XF86Config-4. Find the "Files" section and add to it the line:
FontPath "/usr/share/fonts/TrueType"
To use these fonts in OpenOffice.org, go to the directory in which OpenOffice is installed. This will probably be /usr/lib/openoffice. In this directory, execute the spadmin program. (Remember that since you are root the current directory is probably not in your path. You will therefore need to type "./spadmin".) When you start it up, it will pop up a window that looks like this:
Now click on the "Fonts" button. This will pop up a window that looks like this:
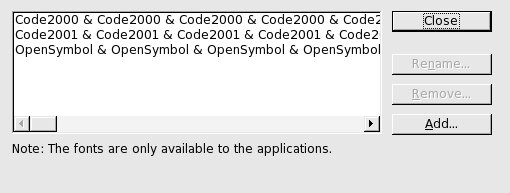
Now click on "Add". This will pop up a window like this:
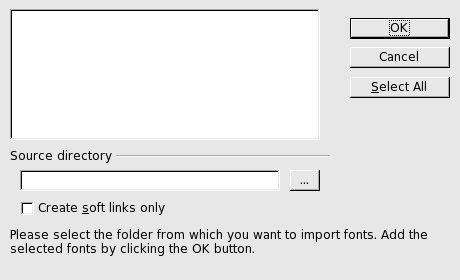
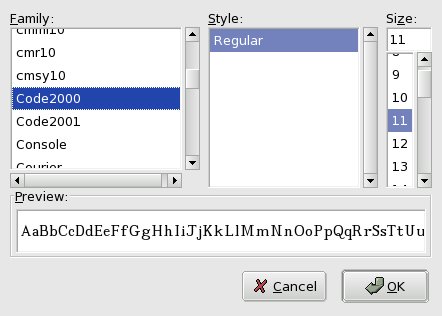
Now click on the "..." button. This will pop up a window like this:
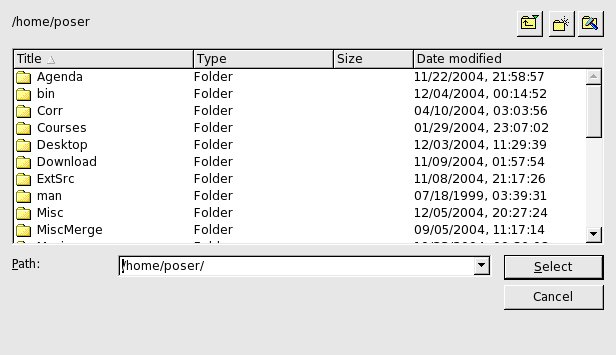
Now select the directory in which your fonts are found.

Click on "Select All", assuming you want to make all of the fonts available. If not, select them one by one.
You will now be able to select these fonts in the OpenOffice.org font selector.

Go to the directory in which Mozilla is installed. This will probably be something like /usr/lib/mozilla-1.6. From here descend to the directory defaults/pref. You need to edit the file unix.js. Since damaging this file can prevent Mozilla from working properly, it is a good idea to make a backup copy before changing it.
Find the section marked //TrueType. Edit it so that it looks like this:
    pref("font.FreeType2.enable", true);

    pref("font.freetype2.shared-library", "libfreetype.so.6");

    // if libfreetype was built without hinting compiled in

    // it is best to leave hinting off

    pref("font.FreeType2.autohinted", false);

    pref("font.FreeType2.unhinted", false);

    // below a certian pixel size anti-aliased fonts produce poor results

    pref("font.antialias.min", Cool;

    pref("font.embedded_bitmaps.max", 1000000);

    pref("font.scale.tt_bitmap.dark_text.min", 0);

    pref("font.scale.tt_bitmap.dark_text.gain", "0.7");

    // sample prefs for TrueType font dirs

    pref("font.directory.truetype.1", "/usr/share/fonts/TrueType");

    pref("font.directory.truetype.2", "/usr/X11R6/lib/X11/fonts/TTF");

    //pref("font.directory.truetype.3", "/u/sam/tt_font3");

    pref("font.FreeType2.printing", true);
The crucial changes are in the line:
pref("font.FreeType2.enable", true);
in which you may need to change false to true,
and the line:
pref("font.directory.truetype.1", "/usr/share/fonts/TrueType");
which you will probably need to add, and the line:
pref("font.FreeType2.printing", true);
in which you may need to change false to true.
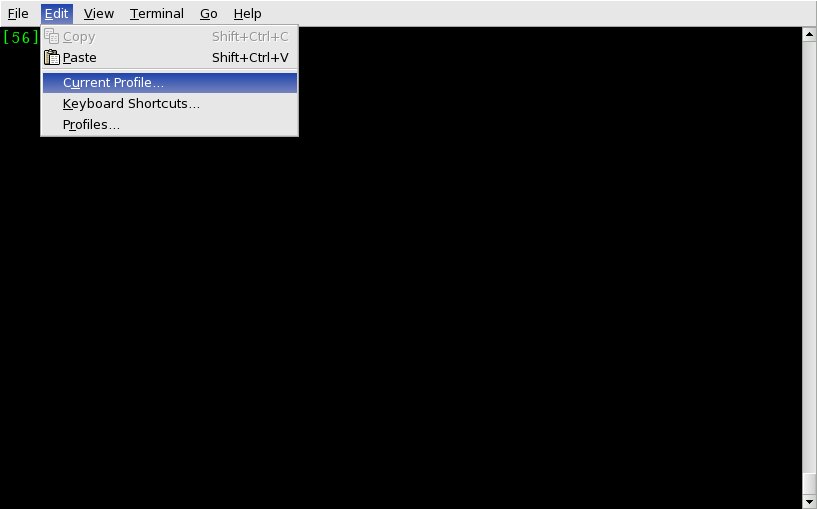
This describes font selection in Gnome Terminal. The procedure is similar in other
X terminal windows. First, click on the window's Edit button. This will
bring up a menu like this: